Creating an online course is one of the fastest ways to turn your knowledge into income. Many creators hesitate because they assume it requires expensive software, complicated tech, or a large upfront investment.
It doesn’t.
You can create an online course for free and validate your idea before spending a dollar. The real challenge is not launching. It is building something structured enough that learners stay engaged and actually finish.
That is where most courses fail.
In this guide, you’ll learn how to create an online course for free, step by step. More importantly, you’ll learn how to structure it in a way that supports engagement, progression, and long-term growth from day one.
If you want deeper instructional guidance on structuring lessons, see our guide to Online Course Design Best Practices.
What Makes a Successful Online Course?
A successful online course is not just a collection of videos. It is a guided experience that moves learners from confusion to clarity.
Strong courses break complex ideas into manageable lessons, follow a logical progression, and include opportunities for learners to apply what they are learning. They also work smoothly across devices and provide visible progress so learners feel momentum.
Completion rates matter. If learners do not finish, they do not get results. And if they do not get results, your course will not grow through referrals or upgrades.
That is why structure matters more than production quality.
For engagement strategies that increase completion rates, read How to Make Online Courses Engaging.
Step 1: Choose Your Topic and Define Your Audience
The foundation of creating an online course for free starts with clarity.
Choose a topic where you have real experience and a clear point of view. Then validate demand. Look at search trends, community discussions, and recurring questions in your niche.
Narrow topics perform better than broad ones. “Quick Vegan Meal Prep for Busy Parents” will attract more committed learners than “Cooking Basics.”
Once your topic is clear, define your audience. Are they beginners or advanced? What are they struggling with? How much time do they realistically have?
When you understand your audience, you can design lessons that feel relevant instead of overwhelming.
Finally, define measurable outcomes. Instead of saying “Learn Canva,” say “Create three branded social graphics and export them correctly.” Specific outcomes improve engagement and satisfaction.
Step 2: Plan Your Course Content
Structure creates momentum.
Break your course into modules that build logically. Start with foundational concepts, then move into application and refinement. Each lesson should lead naturally into the next.

Keep lessons short. Five to fifteen minutes per video is ideal. Short lessons increase completion and make it easier for learners to return without feeling lost.
Add light supporting elements like worksheets, reflection prompts, or short knowledge checks. You do not need complex quizzes. Even simple tasks increase retention and engagement.
This is where many free tools fall short. They allow you to upload content, but they do not help you guide learners through it.
Platforms designed around structured learning journeys, like CustomerHub, reflect the shift toward outcome-driven systems explained in our article on AI-Powered Education Platforms. The difference is not just access to content, but guided progression.
Step 3: Design and Create Course Materials
You do not need expensive equipment to create a course.
A simple webcam or smartphone works as long as audio is clear and lighting is good. Focus each video on one core idea to avoid overwhelming learners.
Use clean slides with minimal text. Add diagrams or screenshots when explaining complex ideas. Written materials like checklists and templates reinforce what learners see in video lessons.
Interactive elements make a difference. Reflection questions, quick exercises, or short practice assignments turn passive watching into active learning.
The goal is not perfection. It is clarity and application.
Step 4: Host Your Course
Once your materials are ready, you need a hosting platform.
A good platform should allow you to upload content, organize modules, manage access, and track progress without technical complexity.
This is where long-term thinking matters.
You can create an online course for free using trial-based platforms. But if you plan to grow, you need more than content hosting. You need structure, automation, and visibility into learner engagement.
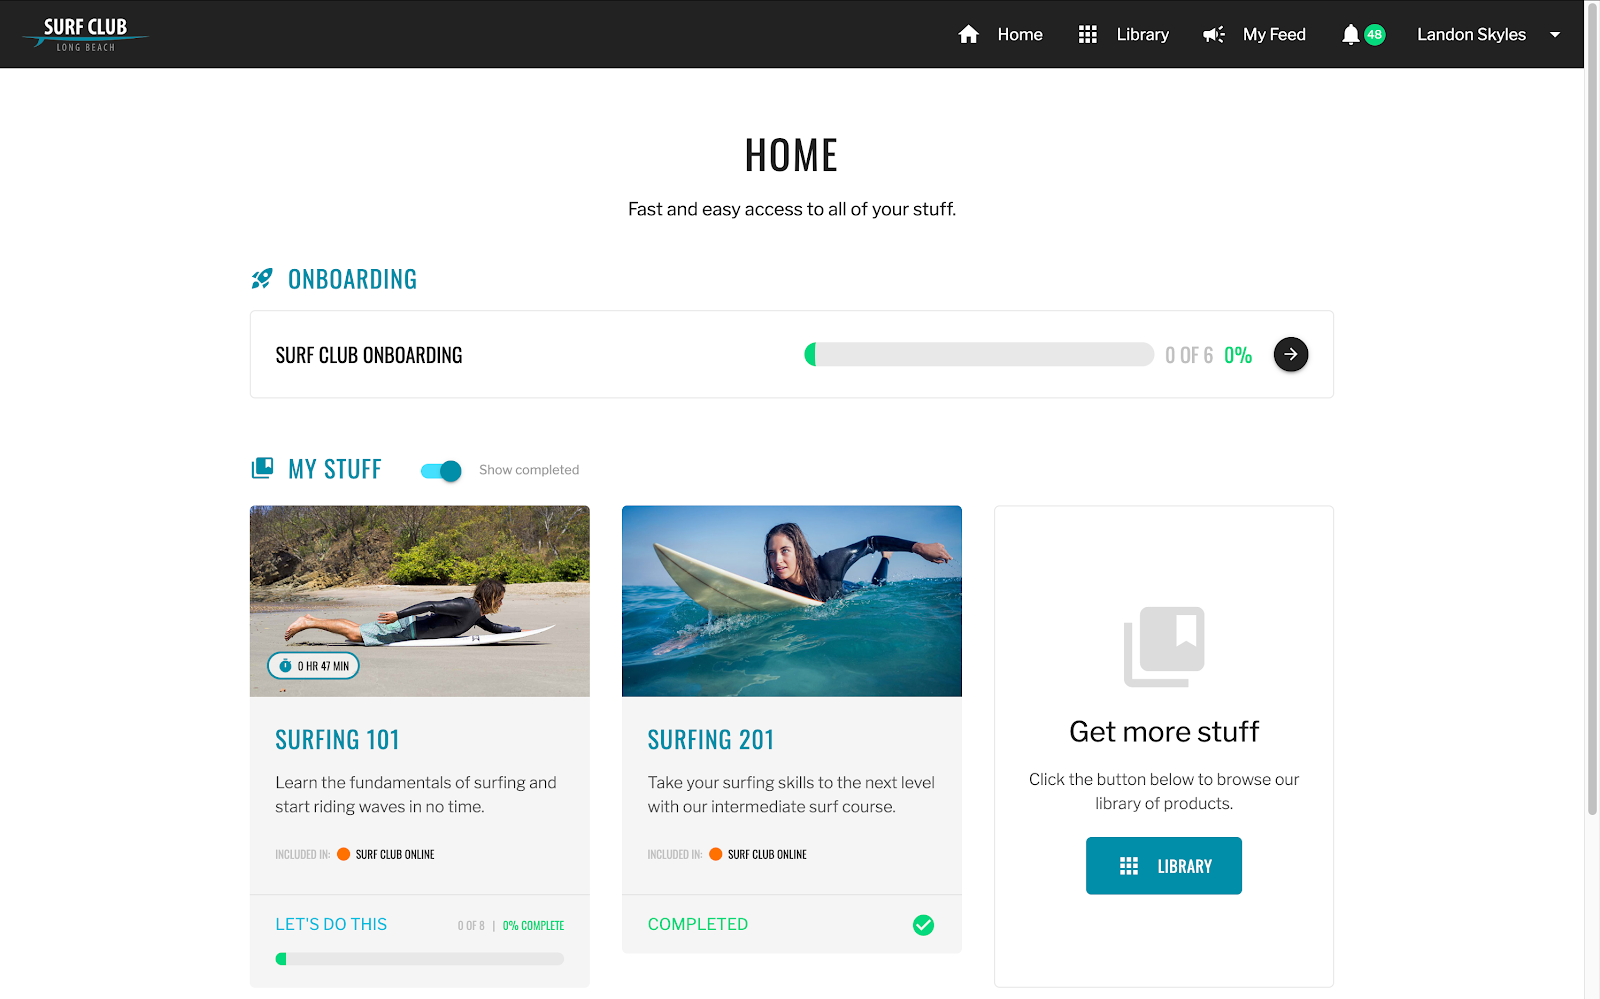
CustomerHub allows you to organize modules into clear sequences, set prerequisites between lessons, track completion, integrate payments, and connect to your email system.
If you are comparing tools, our guide to Best Membership Platforms for Coaches and Creators breaks down what to look for beyond just billing features.
Before launching, test your course as a learner. Make sure videos load correctly, downloads work, and navigation feels intuitive.
Step 5: Promote Your Course
You do not need paid ads to start.
Social media, email marketing, and search engine optimization can generate early traction. Share helpful content related to your topic. Join relevant communities and contribute real value.
Create a focused landing page with a clear headline, defined outcomes, and a concise course overview.
If you already have a blog, YouTube channel, or podcast, link directly to your course page. Cross-promotion builds momentum and authority.
Step 6: Monetize Your Course
Starting free does not mean staying free.
Once your course delivers results, you can introduce revenue layers such as certifications, advanced modules, related digital products, membership programs, or affiliate partnerships.
CustomerHub supports tiered memberships and scalable growth. That means you can validate first, then grow without rebuilding your system later.
The smartest creators treat free as a validation stage, not a long-term business model.
How CustomerHub Supports Structured Course Growth
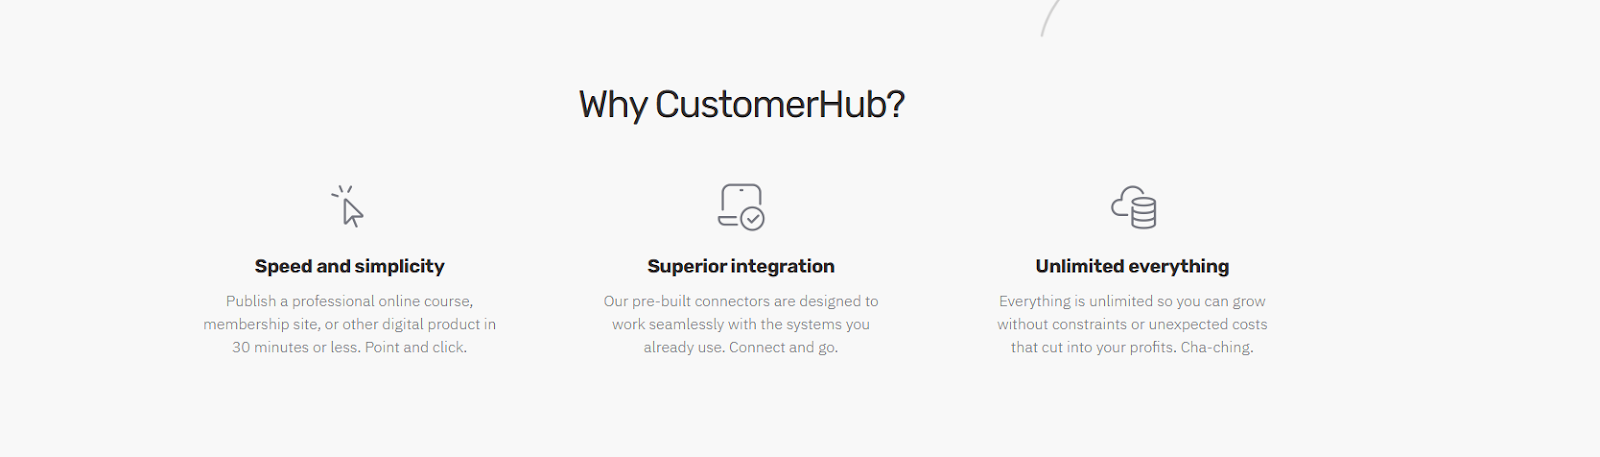
CustomerHub is built for creators who want more than content hosting.
It allows you to organize your course into structured learning journeys with progress tracking and controlled access. You can combine your course, community, and digital products inside one clean hub.
Instead of sending learners between multiple tools, everything lives in one focused environment. That improves activation, engagement, and long-term retention.
As your course grows, you can add new products, programs, or membership tiers without worrying about limits.
Ready to Validate Your Course the Smart Way?
CustomerHub lets you build structured modules, upload lessons, organize content, and launch your course in minutes. You can start free, test your idea, and grow into a fully scalable education business when you are ready.
Start your free trial today and build your first course with clarity, structure, and momentum.
FAQs About How to Create an Online Course for Free
Can I make an online course for free?
Yes. Many platforms offer free trials or free sign-up options so you can build and test your course without upfront costs.
Do I need an LLC to sell courses online?
Not necessarily. However, forming an LLC can offer legal protection and long-term business benefits if you plan to scale.
How much does it cost to create an online course?
You can start at zero using free tools and trial platforms. Costs increase as you invest in marketing, production quality, and scaling.
Can I use WordPress to build a course?
Yes, but it often requires plugins and technical setup. All-in-one platforms simplify hosting, structure, and progress tracking in one place.